
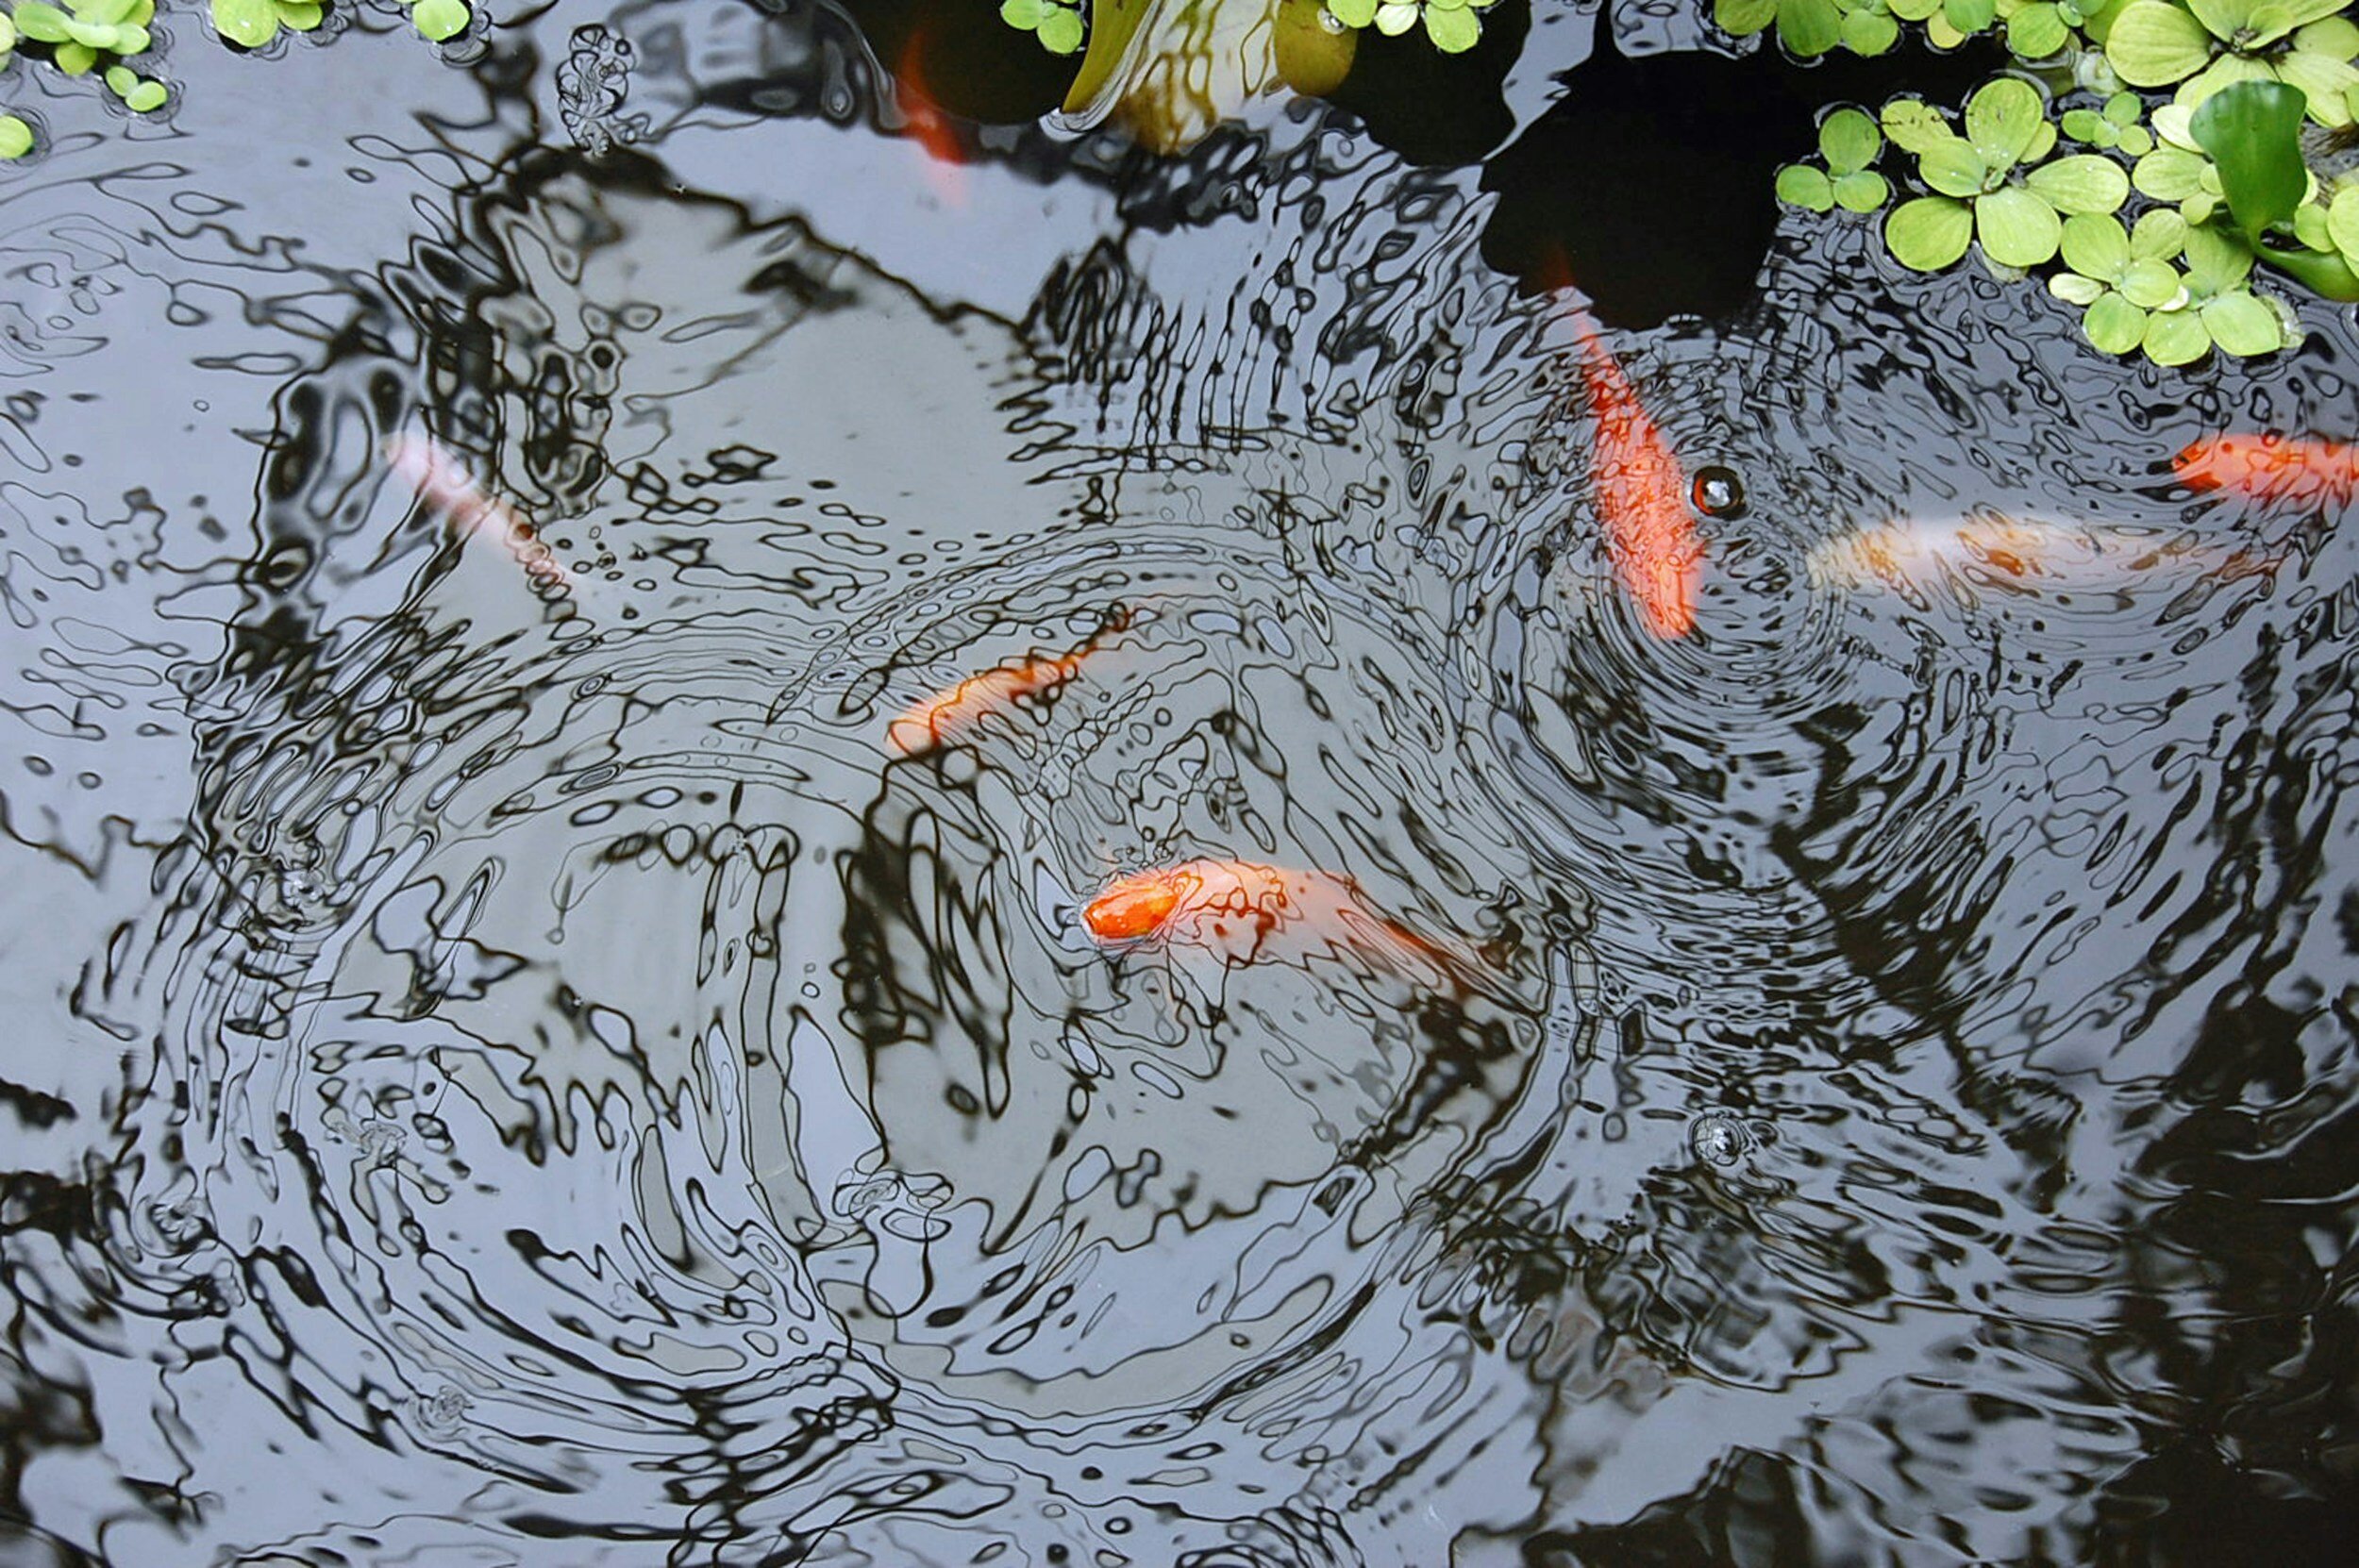
Garden ponds
Ponds make an attractive feature in any garden and are an immensely enjoyable and rewarding hobby for both adults and children alike. They are also a valuable addition to your garden, helping to attract and support wildlife.
What next?
View the information below to learn the essentials for setting up and maintaining a garden pond.
Take the test, and when you have passed, you will receive a certificate to show to your pet shop and prove your knowledge.
Information for setting up and maintaining a garden pond
The Pet Know How tests are designed to test your basic knowledge of keeping a pet of your choice. They will help you understand the needs of the animal and some of the important things you need to consider if you were to have one as a pet. Once you complete a test you won’t be an expert keeper but you will be in a better position to make an informed decision and decide if you are able, and willing, to take on the responsibility.
In this section, you will find a wealth of knowledge compiled by experts to provide you with the valuable information you need regarding setting up and maintaining a garden pond.
Work your way through all the sections, and when you feel ready, register yourself to take the test and earn a certificate that proves your knowledge.
Introduction
As a general rule you should, within reason, plan for a pond as big as possible and it should be able to accommodate your chosen fish once they are fully grown. Conditions in a larger pond are also more stable and less susceptible to variations in temperature, pH etc than smaller ponds.
Ponds can be as large or as small as you want. They can range from a small, preformed pond for a few small species, up to a much larger and more technical set-up designed for koi. Always decide what species you wish to keep and ask your OATA retailer if they have any specialist requirements before designing your pond.

Planning your pond
Once you have decided what species you wish to keep, position your pond so that:
It is level and does not have a ‘high end’.
It ideally receives 4-6 hours of sunlight every day to allow plant growth, but is not fully exposed all day. Ponds can be placed in less-than-ideal conditions, but very sunny spots may encourage growth of nuisance algae, whereas excessive shade may limit plant growth.
There is a small area of shade, although this can be provided by plants added later.
It is not too close to trees since they will drop leaves and their roots are difficult to dig through.
A safe electricity source is easily accessible.
You will also need a filtration system in order to keep fish successfully. If you do not want to keep fish, then please see our How to set up and maintain a wildlife pond care sheet for further information. Filters come in many shapes and sizes, but there are also other pieces of equipment that may be required such as an air pump, UV steriliser or fountain, depending on the pond you would like to keep. Ask your OATA retailer for advice on your specific set up.

Installing your pond
Once you have decided where you want your pond, the next step is to decide what type of pond would work best for you. Ponds are commonly constructed using two main methods, namely preformed ponds or liners. There are other methods such as brickwork and on-site fibre glassing, but this is best undertaken by experienced professionals.

Preformed ponds
Preformed ponds are made of plastic or fibre glass, built to set sizes which can be put straight into the ground. It is best to choose a pond with a depth of at least 60cm so that it has an area of stable water temperature all year round. It should also have some shelves to allow plants to be placed in the shallows. It is then time to start digging a hole large enough for the pond, ensuring that any sharp objects are removed. Once the hole is dug, it is best to put in a layer of soil or sand at the bottom to protect the pond and put the preformed pond inside, ensuring it is level using a spirit level. Fill the pond in stages and backfill the hole with sand or soil, ensuring the pond remains level throughout the process.

Liner ponds
Liners provide much more flexibility and can be bought in custom sizes, allowing a pond of almost any shape or size to be constructed. It is important to oversize your liner to ensure that it will fit the pond when full of water and leave sufficient overlap for your chosen edging - ask your OATA retailer for guidance. First plan the size and shape of the pond by marking it out on the ground to be dug. Begin digging, ensuring that you leave shelves in places and it is at least 60cm deep in some parts. Once the area of the pond is dug out, ensure that no sharp objects are present. It is then best to install an underlay to protect the liner. Once this is in place, lay out the liner loosely in the hole and make sure there is an excess hanging over the edges. Slowly fill the pond with water using a hose pipe, lifting the liner to remove any wrinkles and folding the liner into any corners. The weight of the water will push the liner firmly into place. Once the pond is full, the excess liner needs to be held in place with either paving or stonework being popular choices. If stones and rocks are used around the top edge, you may need extra liner to create a shallow shelf, and then bring the excess liner up behind the rocks. Take care with limestone rocks in ponds as they can fragment in frosty weather. Avoid mortar (from paving) falling into the pond since even a small amount of fresh mortar can make the water dangerously alkaline and harmful to fish.
Dechlorination
Once your pond is full, the water needs to be dechlorinated. This can be achieved by either leaving it to stand for at least 24 hours allowing the chlorine to dissipate, or by using a commercial dechlorinator which will also remove any heavy metals found in the tap water. The equipment should then be installed, switched on and left running for at least 24 hours to allow you to check for any leaks and for the water temperature to stabilise. Plants can be added during installation, and adding a broad range of marginal, submerged and floating plants can all help start the process of the pond maturation. Fish are best added after the submerged plants have had time to settle in and the filter has been matured.

Wildlife predation
An important factor to consider is wildlife predation or feeding on fish from your pond, particularly by otters and herons which are protected species. It is an offence to disturb an otter at its place of rest, shelter or breeding, either intentionally or unintentionally. It is also a criminal offence to disturb, destroy or tamper with its place of rest, shelter or breeding holts, either intentionally or unintentionally. To be found guilty of such an offence carries a penalty of a maximum of ten years imprisonment and/or a fine of £5,000. Otters are most likely to predate upon pond fish in the winter as they move away from rivers and streams. The following guidelines can help you reduce predation on your pond fish by otters, alongside other wildlife.
Consider placing heavy gauge mesh over your pond during the winter months (normal pond netting will not be effective).
Outside lights may deter predators.
At present, sonic devices are untested to the frequencies of an otter’s hearing range.
Simple one strand, low voltage electric fencing place around the edge of your pond may help deter herons. Multi-strand fencing may be needed to deter otters.
If the fish in your pond are predated upon and you notice dead fish, move any surviving fish to a protected holding pond, and leave your main pond empty.
Do not restock your pond straight away if it is affected by predators.
Other species, such as herons, can be dissuaded by using 15-100mm square netting held 30cm above the water.
Maturing your pond filter
Before you begin maturing your filter, you will need test kits to regularly measure the water quality and ensure that it is suitable for fish: these kits should test for ammonia, nitrite, nitrate and pH.
Your pond filter then needs to ‘mature’. Waste products from your fish and any leftover uneaten food contribute to ammonia (NH3) levels, which together with nitrites (NO2-) are highly toxic to fish. However, there are beneficial bacteria (known as nitrifiers) which can quickly break down ammonia and nitrite to the much less toxic nitrates (NO3-). These beneficial bacteria will not be present in a new pond filter, so the process of maturing your filter (called cycling) involves growing a population of these bacteria in the filter media. There are two common methods of doing this, ‘fish-in’ and ‘fish-less’.

Filter maturing methods
‘Fish-in’ cycling
The ‘fish-in’ method involves adding a small number of ‘hardy’ fish to the pond. Note that this method should only be used with great care, and under guidance from your OATA retailer, to safeguard the welfare of your fish. Your OATA retailer will be able to advise on what fish are most appropriate for your pond depending on how mature it is, and the water chemistry of your pond.
‘Fish-less’ cycling
The ‘fish-less’ method involves adding a calculated dose of ammonia to your pond over several weeks. You will need to use an online ammonia calculator to work out how much ammonia needs to be added each day (based on the water volume of your pond and results from your water quality tests). There are also proprietary bacterial cultures available, which can help to ‘kick start’ maturing of your filter when following the manufacturer’s instructions. The addition of live plants will also help this process.
Maturing your pond filter continued…
Whichever method you use, ammonia and nitrite levels should initially successively rise and then fall, while nitrate levels (the end product of filtration) will usually continue to rise, though more slowly in well-planted ponds. If you have added fish, it is important that the levels of these waste products do NOT rise above the guidelines given below. Regular partial water changes will be required (up to 10% weekly) as will regular water testing to monitor for any changes in water quality and to take action as necessary. Once the levels of ammonia and nitrite have dropped to zero and stay at zero continually, your pond filter is mature and stocking can continue slowly. Bear in mind, that each time you add more fish or increase feeding, a ‘mini’ maturation process will be required to allow for the numbers of beneficial bacteria in your filter to build up to deal with the extra amounts of waste produced.
Water quality guidelines for coldwater fish
Ammonia (NH3): Zero mg per litre
Nitrite (NO2-): Zero mg per litre
Nitrate (NO3-): Not to exceed 50 mg per litre above normal tap water levels.
Note: Nitrate levels in tap water can vary widely between different areas of the country. Do seek advice from your local OATA retailer on safe nitrate levels for the fish you keep.
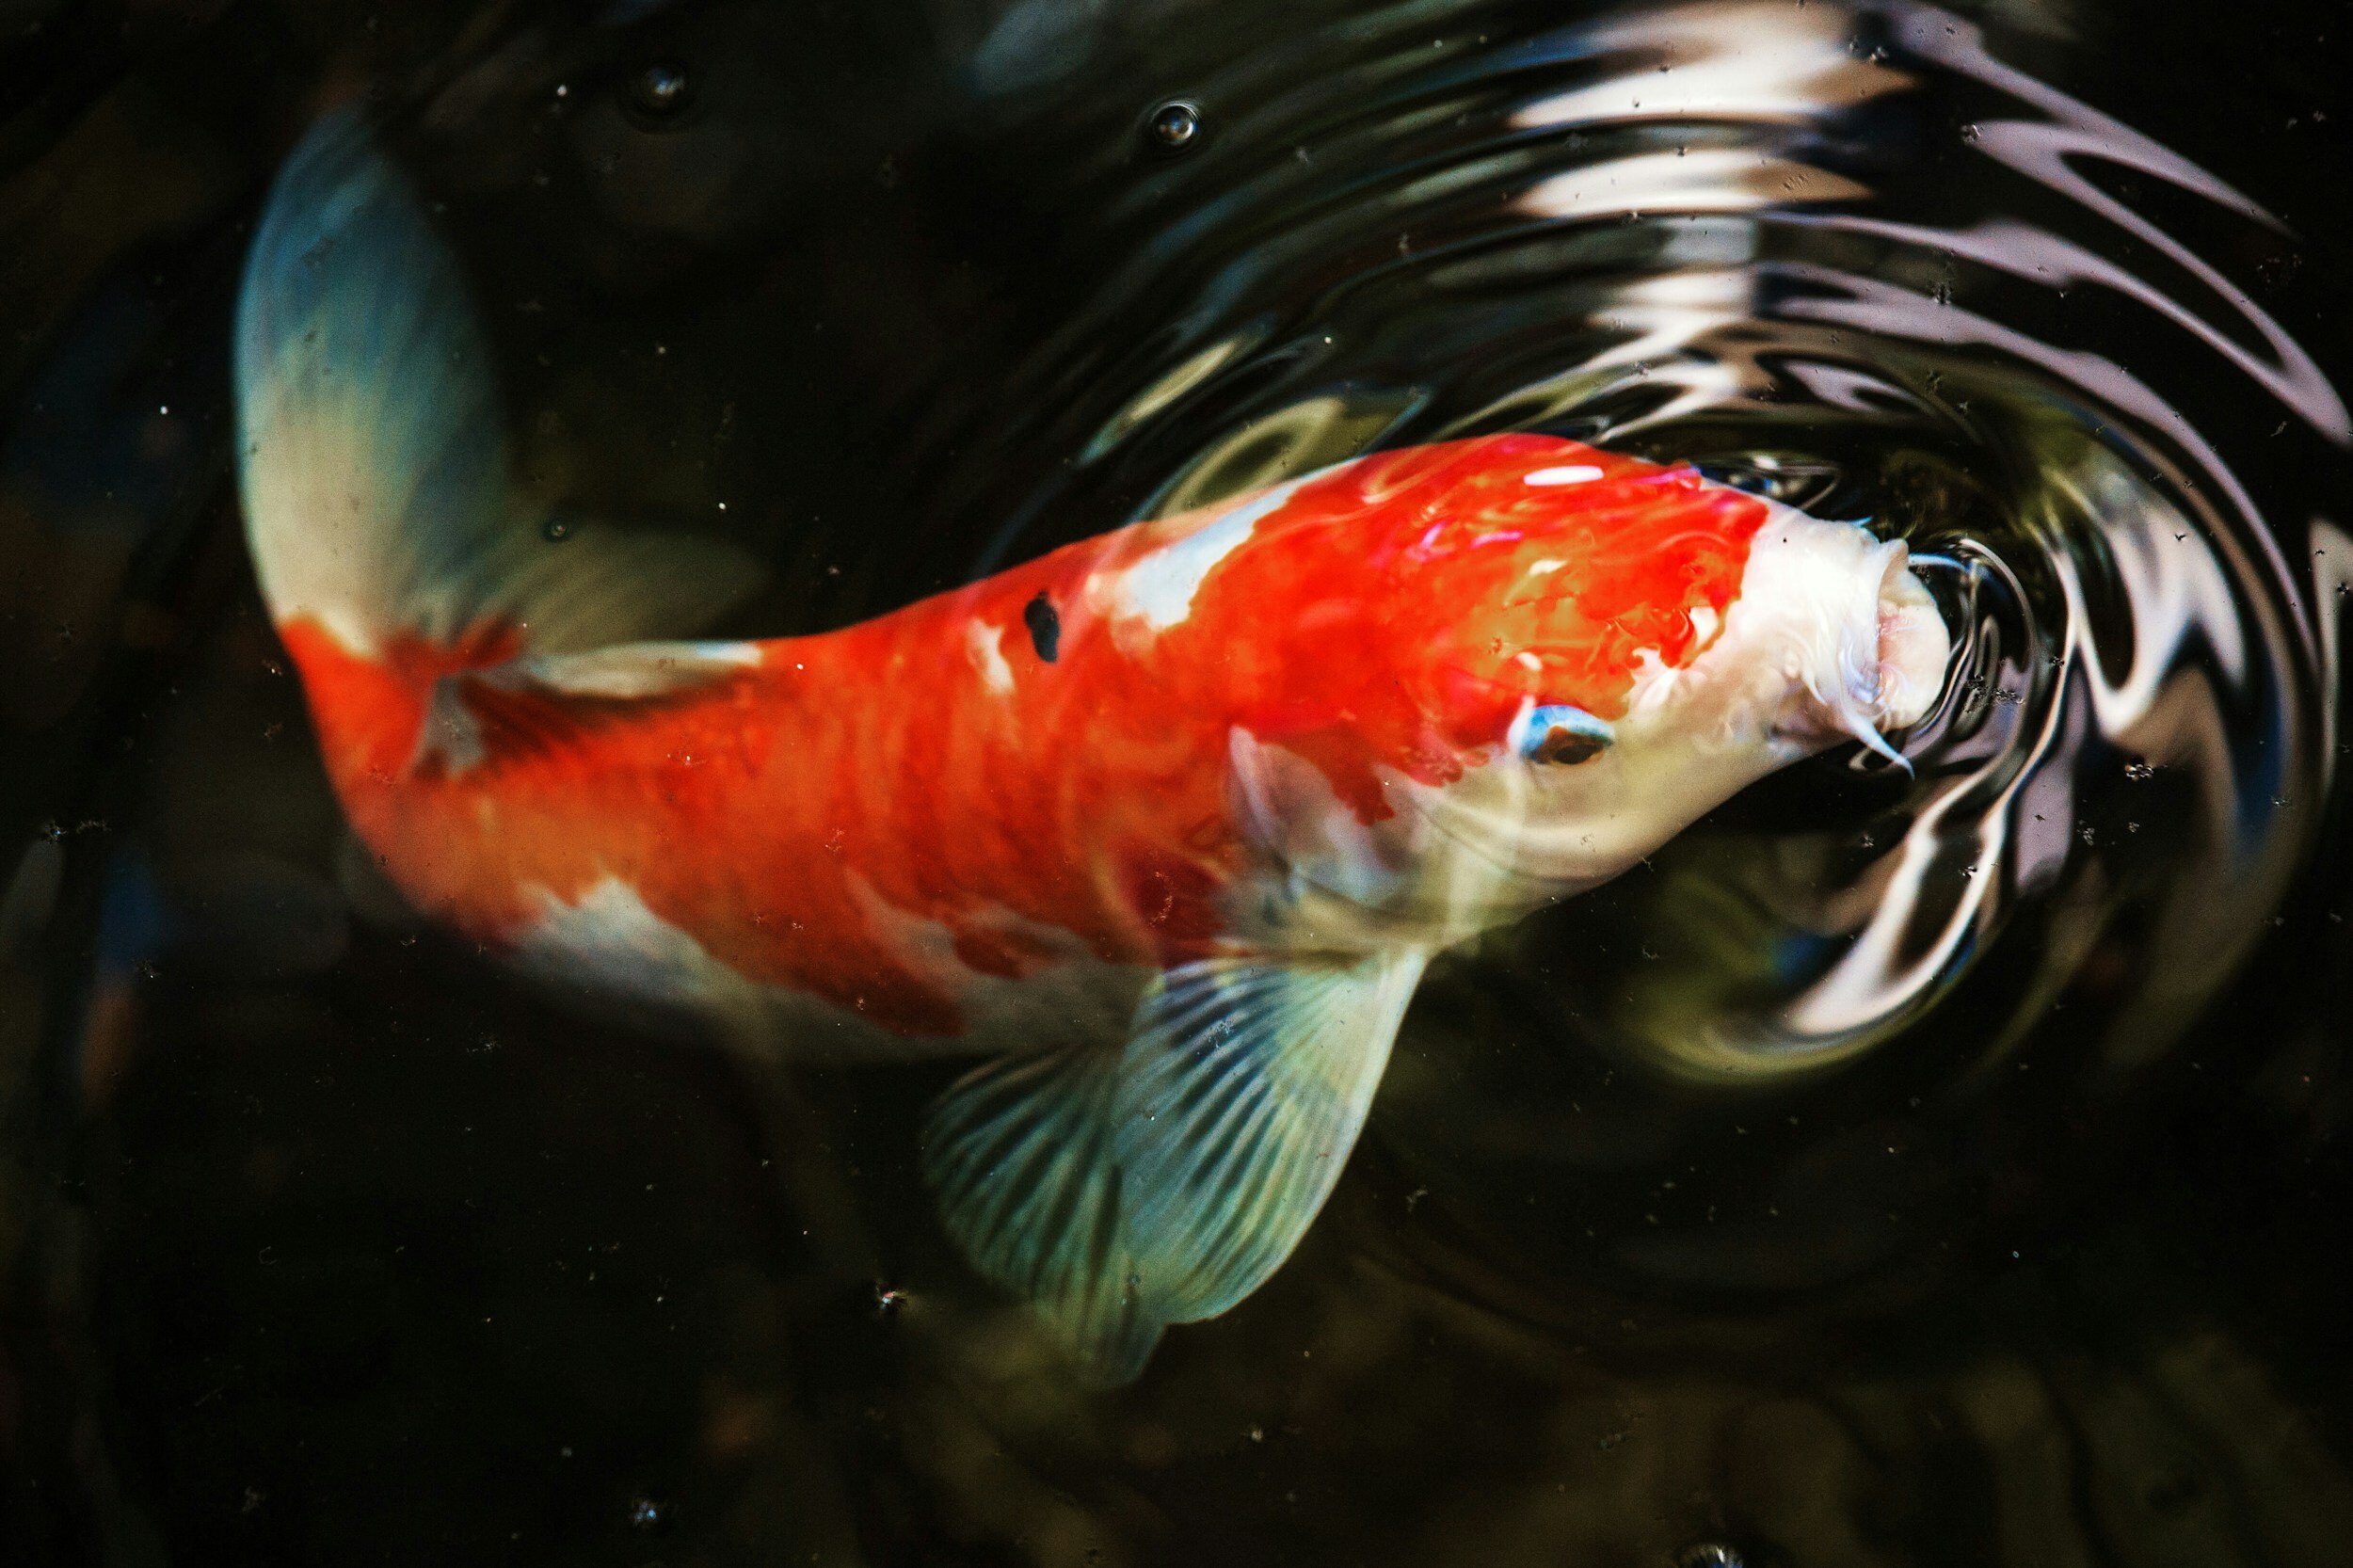
Adding your fish
Before adding any fish, ensure that your pond is fully cycled and seek advice from your OATA retailer in choosing the species you are interested in. OATA has a Pond fish care sheet which covers the majority of commercially available fish. Different species will have different needs and it is important to understand these before purchase.
Only increase the number of fish in your pond slowly as the population of beneficial bacteria established when maturing your pond filter need to increase every time more fish are added and feeding increases. Overstocking or stocking your pond too quickly can result in ‘new pond syndrome’. This occurs when there are not enough nitrifying bacteria to cope with the increased waste load, leading to unhealthy levels of ammonia and nitrite, which stresses the fish severely and may cause fish to become ill or die.

Stocking your pond
It is not possible to say exactly how many fish your pond can hold. The differences in body size, species requirements, water parameters and compatibility of fish available are vast. Ask your OATA retailer for advice on stocking densities for your size of pond and the species you would like to keep.
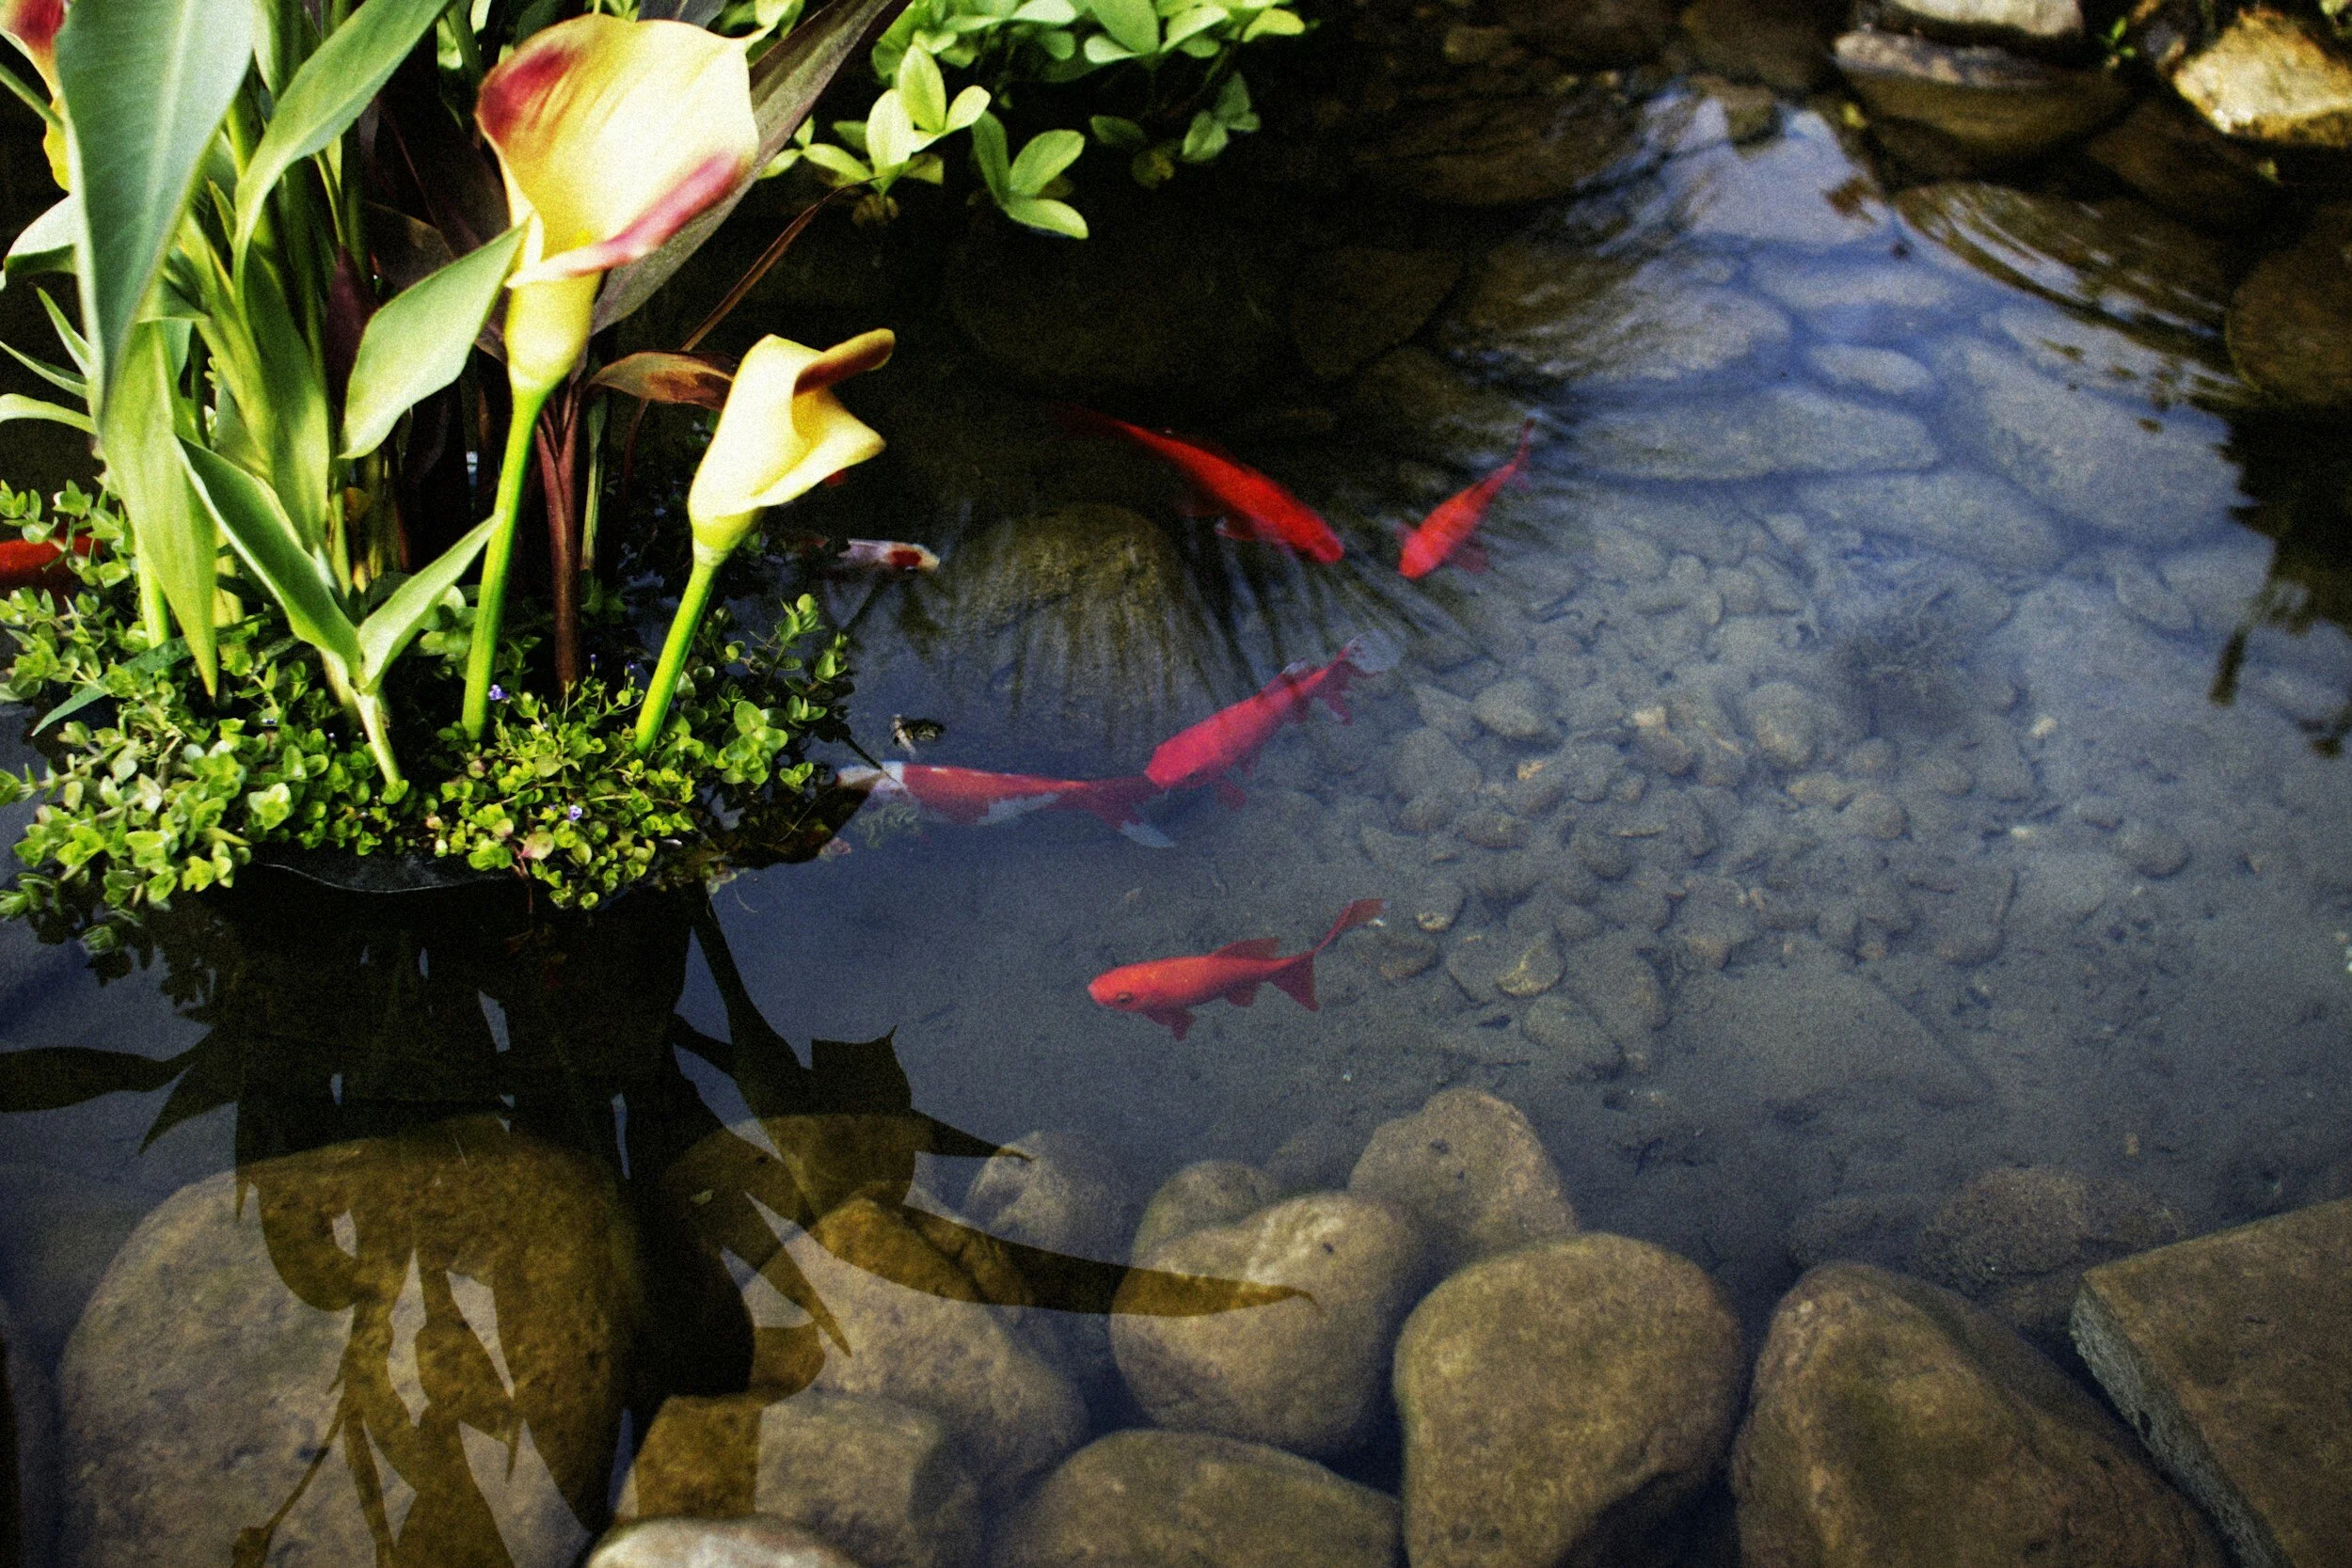
Aim to create a suitable environment for your chosen fish. Remember that decoration and plants take up space but are recommended additions as enrichment for your fish. Live plants help to remove nitrate and other waste products and can provide less boisterous and reclusive fish with a safe retreat. Overhanging bridges or decks can give shelter from the sun, and another place of sanctuary.
Do not expect to fill your pond with as many fish as the stock ponds at your OATA retailer. They are able to stock their ponds more heavily than normal garden ponds due to their management expertise and advanced filtration systems.

Feeding
Diet and feeding requirements vary between species. Some feed at the surface, some will be found throughout the water column, while others will spend most time at the bottom of the pond. Some will also have specific dietary needs and will need specific foods to thrive. Be sure to have suitable food to cater for all of your fishes’ needs. It is also important to feed at the right time of year as a fish’s metabolism slows down during the winter and it may stop feeding entirely. A pond thermometer is very useful in helping to decide when and how much fish should be fed. For further information on feeding your pond fish throughout the year, ask your OATA retailer for advice.

Transporting and releasing your fish
First check that your new fish are compatible with those that you may already own and that the water quality in your pond is suitable i.e. levels of ammonia and nitrite are zero. It is also sensible to avoid introducing new fish into your pond during the winter months, when their immune system is inactive and temperatures in your pond may drastically differ from those at your local retailer. Most responsible retailers will not sell pond fish for outdoor ponds in the winter months. Your OATA retailer will usually sell your fish to you in a plastic bag. Try not to keep them in this for too long. Once purchased, take your new fish home as quickly as possible as fish are easily stressed by bright lights, extreme temperatures, noise and movement.
Once home, your fish will need to acclimatise to their new environment and the most common method to do this is known as the ‘floating bag’ method. Try to keep fish in a dark environment and take the bag containing your new fish out of its outer wrappings carefully, avoiding exposure to bright light.

The ‘floating bag’ method
Float the bag in the water of your pond for at least 20 minutes to ensure the temperature in the bag gradually changes to that of the pond water. It may be necessary to cover the bag with a towel to prevent the sun from warming the water inside the bag too much. After 20 minutes, open the bag and add some water from the pond. This will help the fish adjust to any differences in water chemistry. Some more sensitive species might require a longer period of mixing, but your OATA retailer will be able to advise you. After a further 10 minutes, you can open the bag and release the fish, or net them out of the bag and gently place them into the pond. Once released, dispose of the bag and any excess water appropriately. Monitor your new fish carefully for the first week, paying particular attention to water quality. If in any doubt, contact your OATA retailer for advice.

Maintenance
Your fish are totally reliant on you to keep them healthy, so your pond will require regular maintenance. Most tasks are relatively quick and simple:
Check the water quality regularly (at least once a week) to prevent the build-up of harmful wastes such as ammonia and nitrites. You may wish to test more frequently such as when setting up your pond and when adding fish.
Partial water changes are required to help remove excess waste chemicals. Before adding new tap water, make sure it is treated to make it safe for your fish. Frequency and size of water changes may vary according to what species you keep, the pond size, the number of fish you have and other factors such as plant growth. If in doubt, seek advice from your OATA retailer.
Check filters for blockages and fish waste build-up. Never rinse filter media under a tap since this will wash away and kill the beneficial bacteria. Instead, use some of the waste pond water from a routine water change to clean the filters.
Remember to cover any open cuts or wounds before putting your hands into a pond and always wash your hands immediately after any work around the pond, and before eating any food.
A healthy fish should...
Have clear bright eyes
Have undamaged fins
Have intact scales
Have no ulcerations or bumps
Have appropriate swimming behaviour
Have steady breathing
Do not purchase a seemingly healthy fish if sickly fish are present in the pond or tank with it. Some diseases can be easily carried without fish showing any clinical signs. If in doubt, ask your OATA retailer for advice as they will have in-depth knowledge and experience.
What to watch out for
All fish will have slight variations in their behaviour or appearance, but keeping an eye on any changes in the following will help to identify any potential problems before they become a real health issue:
Swimming behaviour – hanging at the surface, sitting on the bottom or erratic swimming
Colour – turning a darker or paler colour than normal
Temperament – changes in level of aggression or hiding more than normal
Breathing – gill covers moving at a slower or faster rate than normal
Appearance – development of white spots or fluffy growths, loss of fins or scales
Condition – increase or decrease in body weight and condition
Feeding – reduced intake or lack of interest in food
If you are concerned about the health of any of your livestock, then test your water quality and contact your OATA retailer for further guidance.

Shopping list
As ponds can be set up to keep many different species, the fish you choose to keep will determine what equipment you need to purchase. As a general checklist, a pond should include:
A preformed pond or pond liner
Filtration
Air pump
Live plants
Food (suited to your chosen fish)
A hosepipe
Water conditioner/dechlorinator
Thermometer
Water testing kits (for ammonia, nitrite, nitrate and pH as a minimum)
Water test kits will help you maintain good water quality for your fish so their purchase should be considered a necessity. Many OATA retailers will offer free water testing services and can provide advice on how to test your pond water at home.
Pet code of practice
Owning a pet is a responsibility and owners must always ensure that they act in a way that ensures the best welfare for their pet and does not endanger the local ecosystem. Pet’s (companion animals) must never be released into the wild. It is illegal and for most species this will lead to an untimely and possibly lingering death, as they are not native to this country. Any animals or plants that do survive might become harmful to the environment. If you can no longer keep your pet then seek advice at a local pet store, rescue centre or specialist pet club.
Soiled substrate, cage décor and waste water, particularly from fish tanks or amphibian housing, should also be carefully disposed of or treated so that potentially harmful diseases or live food can’t escape into the wild.
Are you ready?
Now that you have made your way through the presentation, it’s time to take the test and move one step closer to proving your knowledge and receiving your certificate.
But first…
In order to access a Pet Know How test, you first need to register some details.
Why do you need to register?
We collect limited personal data in order to personalise Pet Know How certificates, confirm participation of a Pet Know How test, record your certificate number and personalise your website experience. We do not share data with any third parties or use it for marketing. Please see our privacy policy for full details.
